Cladding Painting Guide Chapter 5:
Cladding Painting Preparation Process
In this chapter, we will explore the significance of thorough preparation before painting and outline the essential steps for preparing Plastisol cladding.
The Pivotal Role Of Preparation In Cladding Painting
Proper preparation is a critical phase of any cladding painting project. Whether you’re repainting Plastisol cladding or working with a different type of cladding material, the finish, quality and longevity of the paint job greatly depend on the preparation process.
Why Opt for Painting Plastisol Cladding?
- Economical: Re-coating Plastisol is significantly less expensive than cladding replacement.
- Durability: Protects against weathering and extends the life of the cladding, with finishes lasting up to 10 years longer than uncoated surfaces.
- Protection: Specially formulated paints prevent rust with waterproof and anti-corrosive properties.
- Business Continuity: Operations can proceed without interruption during the re-painting process.
- Customization: Offers flexibility in colour selection for re-branding or updating appearances.
- Enhanced Protection: Includes UV protection to prevent fading from sunlight exposure.
Steps For Preparing Plastisol Cladding
Preparing Plastisol cladding is a methodical process that ensures a smooth, durable, and aesthetically pleasing finish. Here are the key steps to follow:
1. Cleaning and Degreasing:
Begin by thoroughly cleaning the cladding surface. Remove dirt, grime, and any loose paint using a pressure washer or a suitable cleaning solution. Pay close attention to areas with heavy contamination or grease buildup, as these can affect paint adhesion.
2. Surface Inspection:
After cleaning, inspect the cladding for any damage, corrosion, or signs of deterioration. Identify areas that may require repairs before proceeding with painting.
3. Repairs and Surface Smoothing:
Address any damaged or corroded sections of the cladding. Repair holes, dents, or corrosion using appropriate fillers and sealants. Ensure that the surface is smooth and even.
4. Abrasion and Sanding:
To promote paint adhesion, abrade the cladding surface using sandpaper or abrasive pads. This process scuffs the surface slightly, creating a better bond for the paint. Sanding also removes any loose or flaking paint.
5. Priming:
Apply a suitable primer to the entire cladding surface. The primer enhances adhesion, seals the surface, and creates a uniform substrate for the paint. Use a primer compatible with the chosen paint type.
6. Masking and Protection:
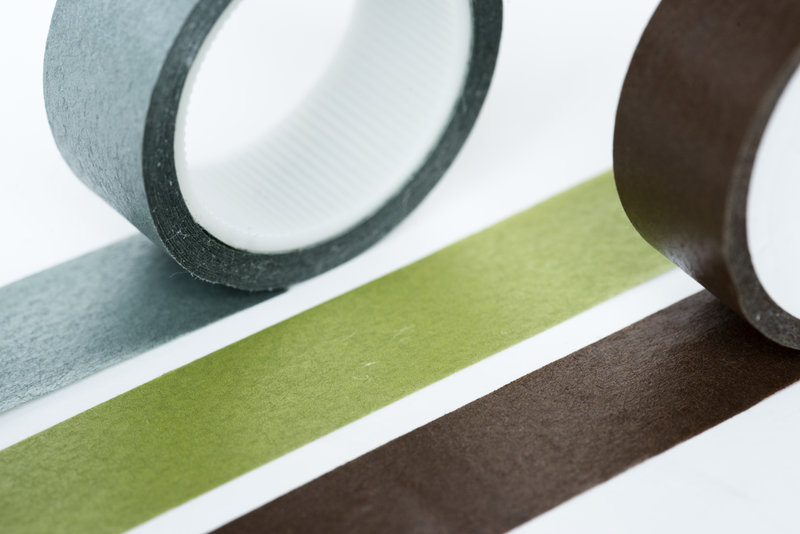
To prevent paint from spreading to unintended areas, mask off adjacent surfaces and cover any nearby objects or landscaping that could be affected during the painting process.
7. Choosing the Right Paint:
Select the appropriate paint type and colour for your project, considering the environmental conditions and your aesthetic preferences.
8. Paint Application:
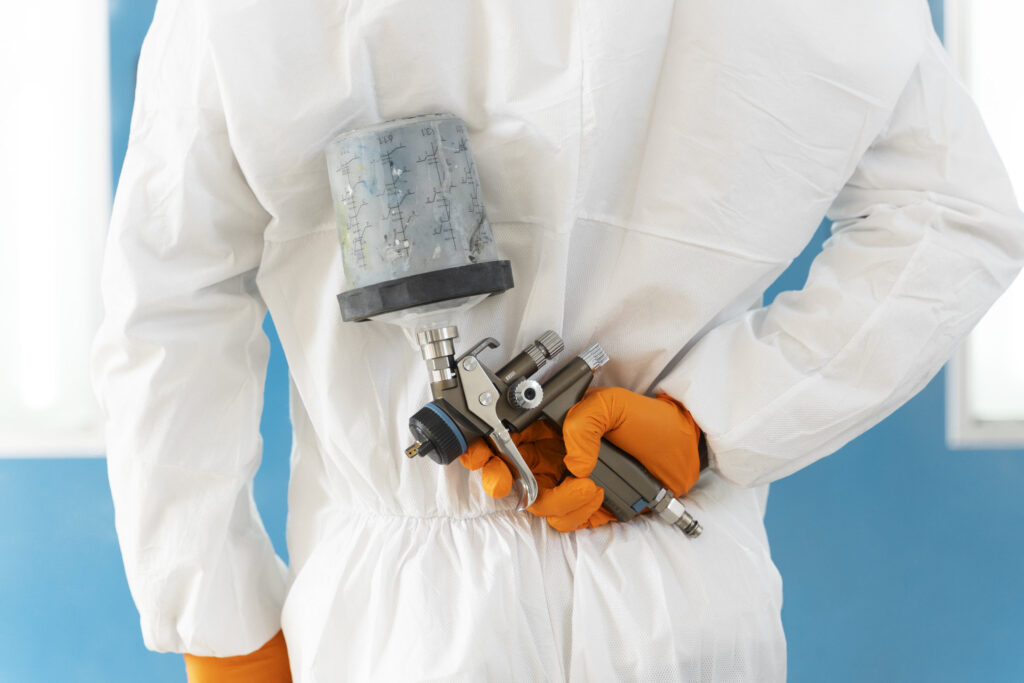
Apply the chosen paint according to the manufacturer’s instructions. Typically, this involves using a paint sprayer, roller, or brush, depending on the cladding’s size and complexity.
9. Multiple Coats:
Apply multiple coats of paint as necessary for coverage and durability. Allow each coat to dry thoroughly before applying the next.
10. Inspection and Touch-Ups:
After the final coat has dried, inspect the cladding carefully. Touch up any imperfections or areas that may require additional attention.
Tackling Damaged And Corroded Cladding
In some cases, cladding may have suffered significant damage or corrosion, requiring special attention. If the damage is extensive or structural, it may be necessary to replace the affected sections of cladding entirely. However, for less severe damage, the steps outlined above can often be sufficient to restore the cladding’s appearance and integrity.
Conclusion
Properly preparing Plastisol cladding is essential for achieving a professional, long-lasting finish. Neglecting these preparatory steps can lead to issues such as poor adhesion, uneven paint application, and a shorter lifespan for the paint job. By dedicating the necessary time and effort to the preparation process, you’ll set the stage for a successful cladding painting project.
Cladding Painting Guide The Next Chapter

Chapter 6: The Best Method For Painting Cladding
Discover the importance of selecting the appropriate cladding painting method, and strategies to achieve even coverage while preventing over-spray! Read this chapter to learn more.
Speak To The Experts
Seeking advice from experts can make this process less daunting and more rewarding. Companies like USP Coatings not only bring expertise in cladding painting but also offer invaluable insights during a free quote consultation, steering your project towards success.


